By Alexandra Sudzilovskaya
Sushi Rice
19 steps
Prep:10minCook:1h
Updated at: Thu, 28 Sep 2023 06:03:07 GMT
Nutrition balance score
Unbalanced
Glycemic Index
67
Moderate
Glycemic Load
46
High
Nutrition per serving
Calories305.9 kcal (15%)
Total Fat0.4 g (1%)
Carbs68.3 g (26%)
Sugars6.2 g (7%)
Protein5.4 g (11%)
Sodium571.8 mg (29%)
Fiber1.1 g (4%)
% Daily Values based on a 2,000 calorie diet
Ingredients
4 servings
For homemade seasoned rice vinegar
Instructions
Step 1
Quick Rinse: Add just enough water to submerge all the rice. Then, discard the water immediately. Repeat one more time. Tip: Rice absorbs water very quickly when you start rinsing, so this step helps remove impurities from the rice and prevent it from absorbing the first few rounds of milky water.
Step 2
Wash: Next, use your fingers to gently agitate the wet rice grains in a circular motion for 10-15 seconds. Using very little water allows the grains to rub against each other. It also reduces the absorption of impurities from the milky water.
Step 3
Rinse: Add water and immediately discard the cloudy water. Repeat one more time.
Step 4
Repeat Wash and Rinse (steps 2 and 3) two more times.
Step 5
Drain: When the water is almost clear, drain the rice very well. Tip: Use a fine-mesh sieve to drain and shake off any excess water.
Step 6
Put the well-drained rice in the inner pot of the rice cooker. Add the measured water to just under the 3-cup line for White Rice (for 2¼ US cups of uncooked rice).
Step 7
Check the kombu to see if there are any dirt particles. If needed, gently wipe it off with a damp cloth (it‘s a traditional method but these days kombu is pretty clean). Do not wipe off the white powdery substance, which contributes to the umami flavor. NEVER wash the kombu! Now, place it on top of the rice in the rice cooker bowl.
Step 8
Soak and Cook: If your rice cooker has a Sushi Rice mode, add water up to that line. Place the kombu on top of the rice and let the rice soak in the water for 20–30 minutes. Then, start cooking. If you don‘t have a rice cooker, cook the rice in a pot over the stove, Instant Pot, or donabe with the amount of water I specified in this recipe. Tip: Since we‘ll be adding sushi vinegar to the steamed rice, cook the rice a little bit on the firm side. To achieve this, use a rice-to-water ratio of 1 to 1 for sushi rice (instead of 1 to 1.1 or 1 to 1.2 for regular steamed rice).
To Make the Homemade Sushi Vinegar (Optional)
Step 9
If you are not using a store-bought bottle of sushi vinegar (seasoned rice vinegar), follow this step. Combine the rice vinegar, sugar, and salt in a small saucepan.
Step 10
Bring it to almost simmer over medium-high heat. Whisk until the sugar is completely dissolved. You can also put the ingredients in a microwave-safe bowl and microwave for 1 minute, or until the sugar is dissolved. Set aside to let it cool.
To Make the Sushi Rice
Step 11
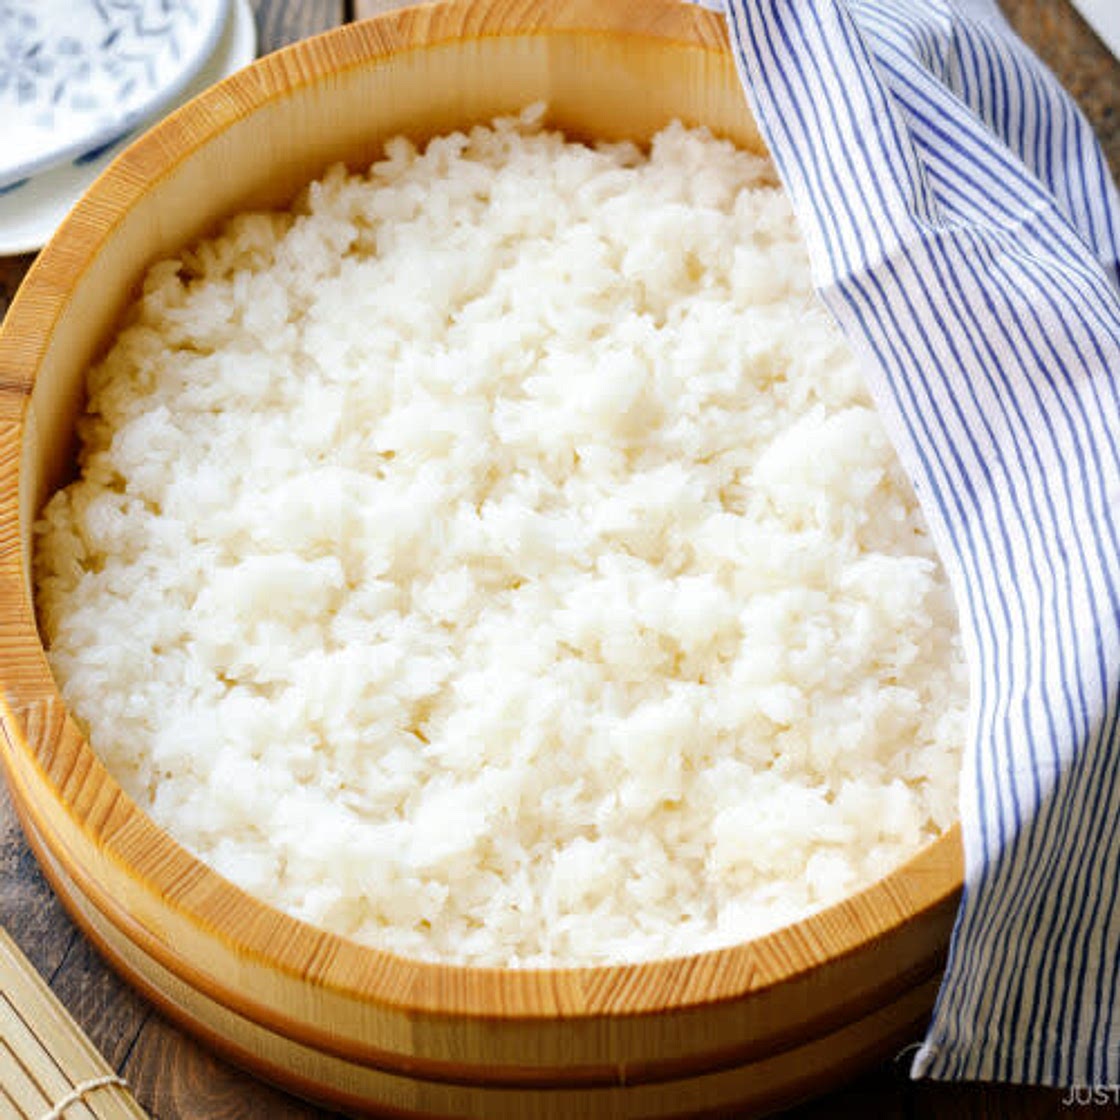
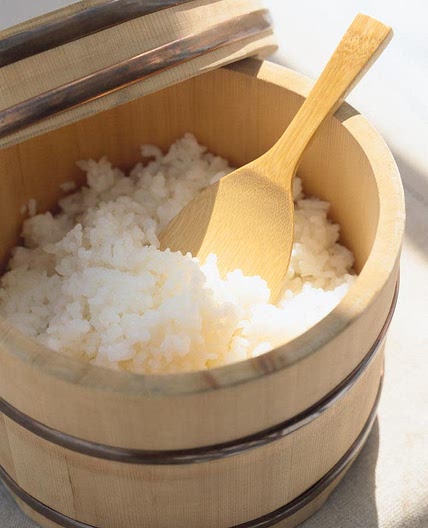
If using a wooden sushi oke (also called hangiri), moisten it by running water over it, drain well, and dry it with a clean towel. You can also use a baking sheet lined with parchment paper.
Step 12
When the rice is cooked, discard the used kombu (or repurpose it to make simmered kombu).
Step 13
Transfer the cooked rice into the sushi oke. Spread out the rice evenly so it will cool faster
Step 14
While it’s hot, pour the sushi vinegar over the rice. Tip: You can still use this same amount of sushi vinegar whether you are making a bit more or less sushi rice. Take note that we add roughly 8–10% of the cooked rice weight in sushi vinegar.
Step 15
With a rice paddle, gently “slice” the rice at a 45-degree angle to incorporate the sushi vinegar mixture and separate the chunks of rice. Do not stir or mix the rice because the grains may break and the rice will become mushy. While using this slicing motion, vigorously fan the rice with a paddle fan or another type of fan. This cools the rice and takes away the excess moisture. Fanning makes the rice shine and keeps it from becoming mushy.
Step 16
Then, gently flip the rice in between slices.
Step 17
Repeat this process until the rice is cooled to the temperature of human skin. Your Sushi Rice is now ready to use in your favorite sushi recipes.
To Keep
Step 18
Keep the sushi rice covered with a damp towel (or paper towel) for a few hours at room temperature.
To Store
Step 19
Rice gets hard and dry in the refrigerator. My recommendation is to put the sushi rice in an airtight container and store it in the freezer for up to a month. You can defrost it overnight in the fridge, and then microwave to room temperature (not hot). If you really want to refrigerate it, cover the container with a thick kitchen towel, so the rice will stay cool but not become cold.
View on How to make sushi rice
↑Support creators by visiting their site 😊
Notes
0 liked
0 disliked
There are no notes yet. Be the first to share your experience!
