By Aurora Malak
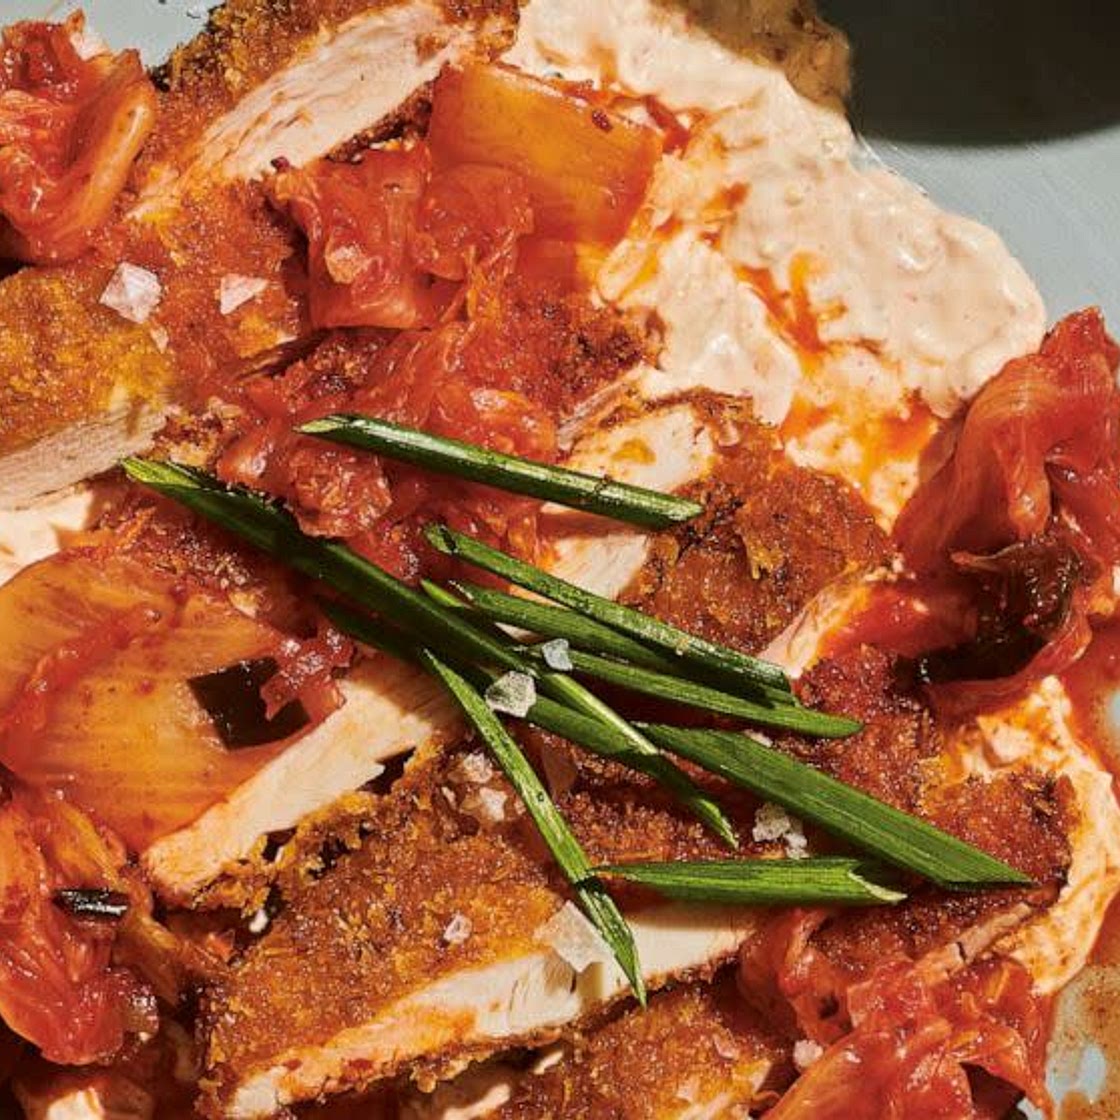
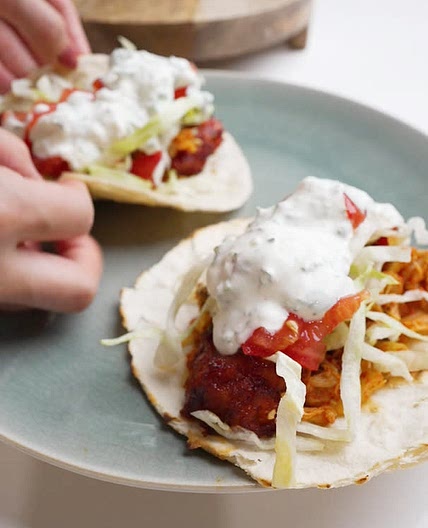
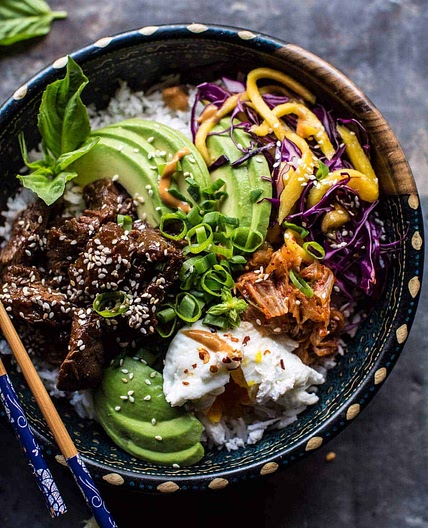
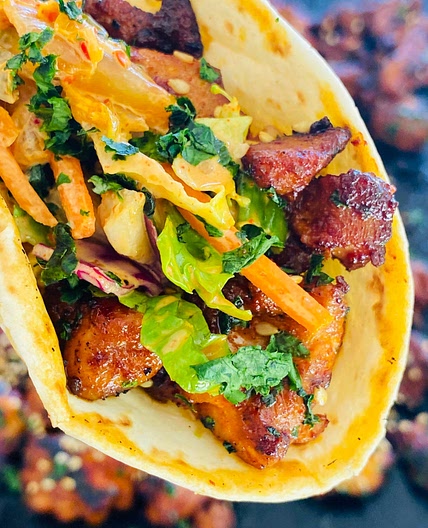
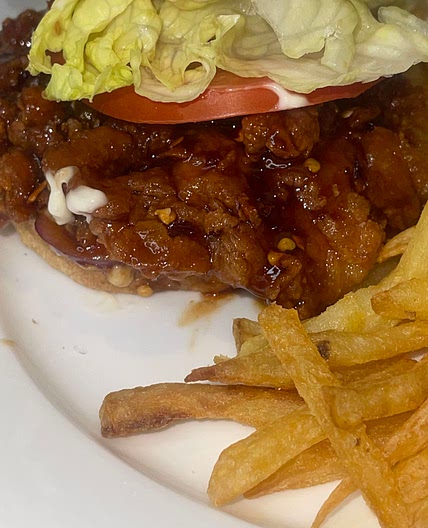
Hot 'n' Crispy Chicken Cutlets with Kimchi Ranch
Here is a delightful chicken cutlet recipe from the indomitable Molly Baz.
While I certainly didn't grow up eating kimchi, breaded chicken cutlets made a weekly appearance on our family dinner table. More often than not they were accompanied by a small ramekin of steamed peas, and a plate of buttered egg noodles (truly delish).
These days I prefer to eat my chicken cutlets accompanied by a big refreshing pile of crunchy kimchi and a generous serving of this kimchi ranch dressing instead, but the sentiment is more or less the same: chicken cutlets RULE.
Updated at: Thu, 17 Aug 2023 08:49:42 GMT
Nutrition balance score
Good
Glycemic Index
56
Moderate
Glycemic Load
17
Moderate
Nutrition per serving
Calories1631.5 kcal (82%)
Total Fat141.5 g (202%)
Carbs30.5 g (12%)
Sugars4.1 g (5%)
Protein60.9 g (122%)
Sodium1060.5 mg (53%)
Fiber3.7 g (13%)
% Daily Values based on a 2,000 calorie diet
Ingredients
4 servings
1garlic clove
1lemon
1 bunchchives
small
¾ cuplabneh
or plan while-milk greek yogurt
2boneless skinless chicken breasts
large, or 4 chicken cutlets
2 cupskimchi
3 tablespoonskimchi brine
1 tablespoononion powder
2 teaspoonsonion powder
1 ¼ teaspoonscayenne pepper
kosher salt
½ cupmayonnaise
2 cupsneutral oil
such as canola, vegetable, or grapeseed
2 cupspanko bread crumbs
Instructions
Step 1
① Marinate the chicken:
Step 2
✦ In a medium bowl, whisk together ¼ cup labneh, 3 tablespoons kimchi brine, 1 tablespoon onion powder, and 1¼ teaspoons cayenne pepper.
Step 3
✦ Pat 2 chicken breasts dry and slice each in half lengthwise to create 2 thin cutlets. Season the cutlets all over with 2 teaspoons salt and transfer to the marinade, turning to coat. Marinate the chicken at least 15 minutes at room temperature and up to 8 hours in the fridge.
Step 4
② Make the kimchi ranch:
Step 5
✦ In a small bowl, whisk together ½ cup mayonnaise, 2 teaspoons onion powder, and ½ cup labneh.
Step 6
✦ Finely grate 1 garlic clove and zest half of a lemon into the labneh-mayo mixture. Cut the lemon into wedges and set them aside for serving.
Step 7
✦ Thinly slice half of the chives and stir them into the ranch. Slice the remaining chives on the bias into 1½-inch(ish)-long matchsticks for garnishing later.
Step 8
✦ Finely chop ¾ cup kimchi and stir it into the ranch. If it looks a little thick, add a splash or two of water until it is swooshable and spreadable. Season with salt.
Step 9
③ Heat the oil: In a large Dutch oven, heat 2 cups neutral oil over medium heat; the oil should be about 1½ inches deep. It’s ultimately going to need to reach about 400°F, so use a deep-frying thermometer to check from time to time and adjust the heat as needed to maintain that temp. If you don’t have a thermometer, throw a few pieces of panko in the oil, and if they sizzle like cray, you’re in the right ballpark for frying.
Step 10
④ Bread the chicken:
Step 11
✦ Place 2 cups panko in a medium bowl.
Step 12
✦ Working one at a time, use tongs to dip each chicken cutlet into the panko and use your fingers to press and pack the panko onto the chicken until very well coated. Transfer to a plate.
Step 13
⑤ Fry the chicken:
Step 14
✦ Line a rimmed baking sheet or a large plate with paper towels.
Step 15
✦ Once the oil reaches 400°F, working in 2 batches, fry the chicken cutlets until deeply golden brown all over, flipping halfway through, 3 to 5 minutes per side.*
Step 16
✦ Transfer the cutlets to the paper-towel-lined baking sheet and season well with salt.**Transfer the cutlets to a cutting board and slice across the grain (perpendicular to the point of the breast) into ½-inch-thick pieces.
Step 17
⑥ Plate ’em up: Spread some kimchi ranch on each plate, add the cutlets and the remaining 1¼ cups kimchi, top with the reserved chives, and serve extra ranch alongside.*Adding them all at once will drastically reduce the oil temperature, and they won’t get all golden brown and crisp, which would truly be a bummer.**As a general rule, anything that gets fried in oil should be seasoned as soon as it comes out of the oil, for best salt stickage.
View on Readers Digest
↑Support creators by visiting their site 😊
Notes
0 liked
0 disliked
There are no notes yet. Be the first to share your experience!
