By mamagourmand.com
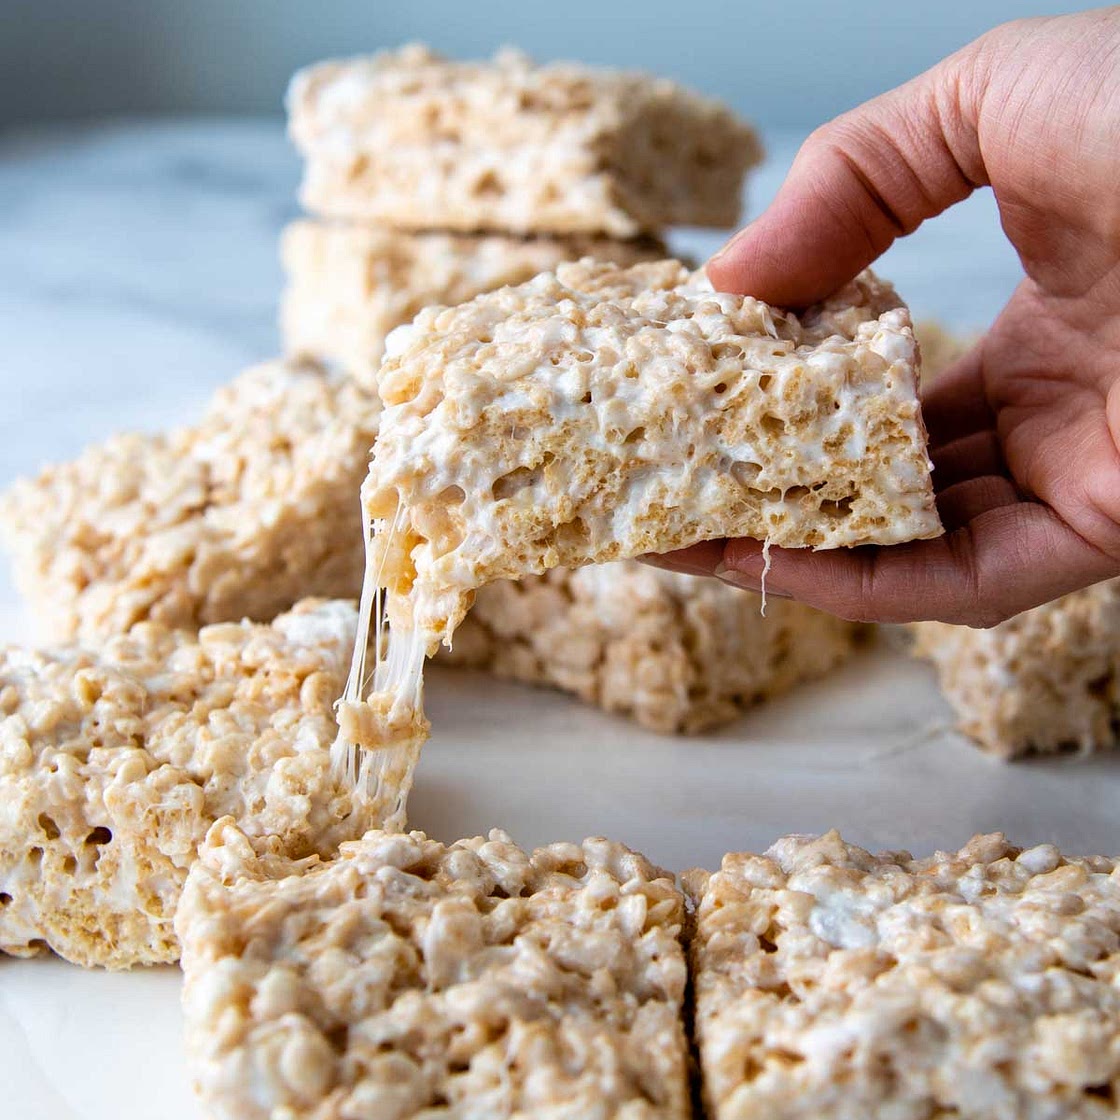
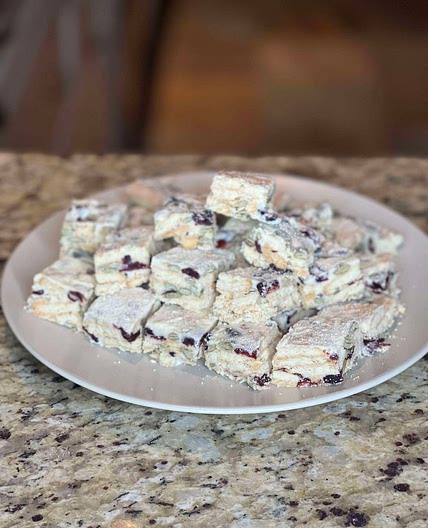
Gluten-Free Rice Krispies Treats
8 steps
Prep:5minCook:7min
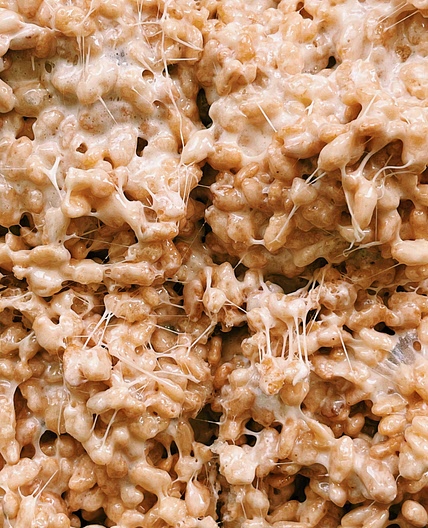
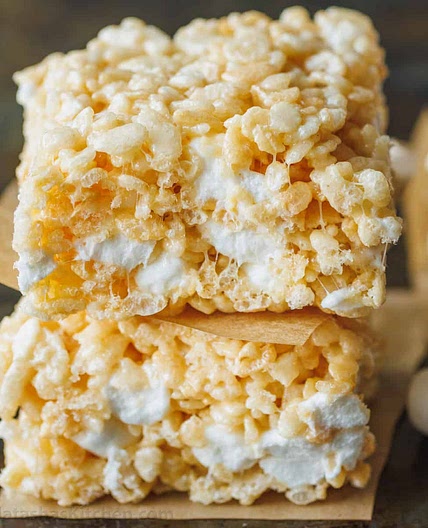
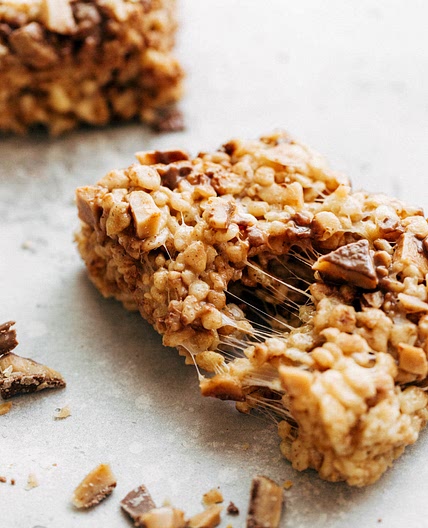
Gooey gluten-free rice krispies treats are the best recipe for all to enjoy! Includes gluten-free brands, dairy-free, and vegan variations.
Updated at: Mon, 23 Dec 2024 16:46:33 GMT
Nutrition balance score
Unbalanced
Glycemic Index
64
Moderate
Glycemic Load
21
High
Nutrition per serving
Calories188.4 kcal (9%)
Total Fat6.8 g (10%)
Carbs32.8 g (13%)
Sugars17.2 g (19%)
Protein1.3 g (3%)
Sodium185.4 mg (9%)
Fiber0.1 g (0%)
% Daily Values based on a 2,000 calorie diet
Ingredients
20 servings
Instructions
Step 1
Measure out the gluten-free rice krispies cereal, set aside 2 cups of the mini marshmallows, and gather the remaining ingredients. Reserve the butter wrapper for later use.
Step 2
For easy removing and cutting, line a 9 X 13-inch pan with two large pieces of foil, criss-crossed. Press the foil up the sides and spray with non-stick cooking spray. Set aside.
Step 3
Brown the butter by melting it in a large saucepan over medium heat. Once the butter is fully melted watch carefully and stir occasionally so butter doesn't burn. First the butter will foam, then the milk solids will start to settle at the bottom. Watch for the milk solids from white to turn brown. Once that happens, immediately remove from heat.
Step 4
Add the remaining marshmallows (with the 2 cups removed), vanilla extract, and salt. Place the pot back over medium-low heat and stir continuously until the marshmallows are melted and smooth. Remove from the heat.
Step 5
Stir in the cereal and the reserved 2 cups of mini marshmallows until evenly mixed. It is okay if the added marshmallows start to melt. That is what makes these rice crispy treats so gooey!
Step 6
Use the spatula to spoon into the prepared pan. Use the butter wrapper to press the mixture evenly, but do not press so hard they are compacted, making them hard to eat.
Step 7
Let the bars cool at room temperature for 30 minutes. If you are ready to serve, lift the foil out of the pan and place on a cutting board. Use a serrated knife to cut into squares. If you plan on serving later, leave the bars in the pan and cover securely with foil until ready to serve.
Step 8
DID YOU MAKE THIS RECIPE?? DON'T FORGET TO LEAVE FEEDBACK AND/OR CLICK A STAR RATING ON THE RECIPE CARD!
View on mamagourmand.com
↑Support creators by visiting their site 😊
Notes
1 liked
0 disliked
There are no notes yet. Be the first to share your experience!
