1/4

2/4

3/4

4/4
100%
3
By Lacey (Lace Bakes)
Tear + Share Honey Butter Focaccia Dinner Rolls
12 steps
Prep:3hCook:22min
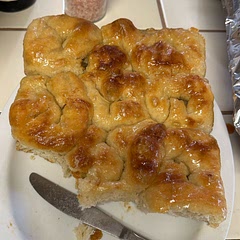
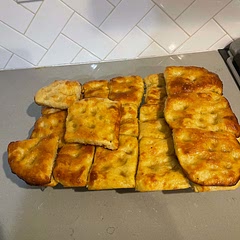
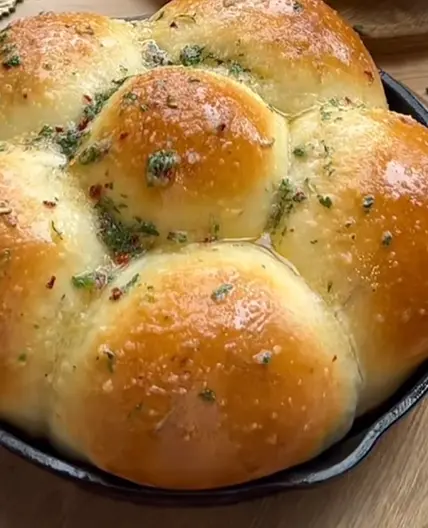
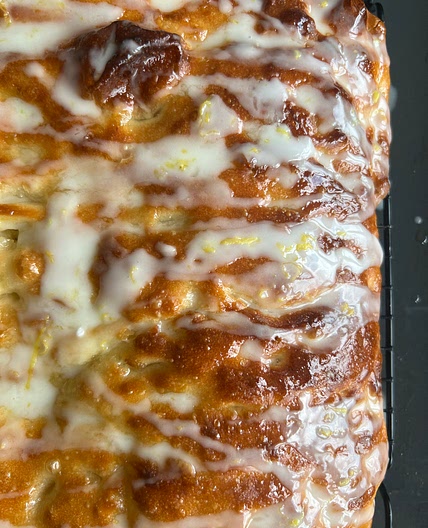
This tear + share slab of honey butter focaccia dinner rolls is the perfect addition to any holiday meal. They are buttery, sweet and salty and have the best texture...they're crispy on the outside and super soft inside! There are instructions for baking ahead of time at the bottom of the recipe :)
Updated at: Mon, 11 Nov 2024 20:42:33 GMT
Nutrition balance score
Unbalanced
Glycemic Index
65
Moderate
Glycemic Load
4
Low
Nutrition per serving
Calories78.2 kcal (4%)
Total Fat6.2 g (9%)
Carbs5.8 g (2%)
Sugars4.2 g (5%)
Protein0.4 g (1%)
Sodium73.8 mg (4%)
Fiber0.1 g (0%)
% Daily Values based on a 2,000 calorie diet
Ingredients
15 servings
For the dough
To coat the dough
For the honey butter glaze
To finish
Instructions
Make the dough
Step 1
Make the dough using my same-day focaccia recipe – if you’ve made this dough in the past and its super wet, I recommend reducing the water in the recipe by 2 Tablespoons (30ml) to make the dough a bit easier to work with. I do not recommend using the overnight or sourdough focaccia dough for this recipe because it uses melted butter instead of olive oil as the fat. Because the sourdough and overnight doughs will be cold from the fridge, the melted butter will solidify when it touches the cold dough it and this can make the process sticky and problematic. My ‘Same-Day Focaccia’ recipe can be found in the “WILL IT FOCACCIA?! RECIPES” community on Samsung Food.
Step 2
After mixing the dough, stretch + fold the dough as instructed in the recipe and then cover the bowl to proof at room temperature for 1-1.5 hours.
Step 3
When the dough has finished proofing in the bowl, prepare a 9x13 inch metal baking tray (quarter sheet pan). Line it with nonstick parchment paper.
Dividing the dough and proofing
Step 4
Drizzle 1.5 tablespoons of melted salted butter onto a clean work surface and spread the butter to roughly the size of your baking tray. Tip the fully proofed dough onto the butter and then, using buttered or oiled hands, gently stretch the dough to a rectangle that is the size of your 9x13 baking tray (make sure it’s an even thickness). Butter the edges of a dough scraper and then cut the dough into 15 equal pieces. I do this by cutting the long side of the rectangle into 3 long strips and then I cut each of those strips into 5 pieces.
Step 5
In a small bowl, place 4 tablespoons of salted butter and 1.5 tablespoons of honey. Microwave for 30-45 seconds or until melted and then stir together to combine (you can of course use a saucepan if you don’t have a microwave).
Step 6
Dunk each of the 15 pieces of dough into the honey butter, ensuring both sides are covered and then place them into the lined baking tray in a 5 x 3 formation (5 pieces along the long edge and 3 pieces along the short). Cover the tray with oiled parchment paper or an inverted tray and leave it to proof at room temperature for 1-1.5 hours.
Step 7
Near the end of the proofing time, preheat the oven to 215C/420F and place the oven rack into the lowest position.
Baking and glazing
Step 8
Remove the cover from the dough and using buttered fingers, dimple the dough thoroughly. Bake on the lowest rack in the oven for 19-24 minutes or until totally golden on the top and bottom.
Step 9
When it’s nearly finished baking, melt together the salted butter (2 Tablespoons) and honey (2 Tablespoons) for the honey butter glaze.
Step 10
Remove from the oven and immediately poke lots of holes all over the top of the bread using a chopstick, skewer or toothpick. While it’s still in the baking tray/parchment paper, use a pastry brush to brush the honey butter glaze all over the top of the bread – don’t forget the edges the nooks in between each roll. If you love sweet and salt, I recommend finishing with a little sprinkle of flaky sea salt. Once all the honey butter has soaked in, transfer the slab of pull apart bread to a cooling rack to ensure the bottom stays crispy.
Step 11
Serve immediately!
Make ahead tip!
Step 12
If you’re entertaining and you’d like to make these ahead of time, follow the recipe up until the bread comes out of the oven (but do not poke holes/glaze). Transfer to a cooling rack. Once cool you can wrap in plastic wrap, a large zip top bag or wrapped in foil. To reheat, place it back into the baking tray and cover with foil. Bake at 180C/355F for 12-14 minutes and then remove the foil for an additional 2-3 minutes so the bread can crisp back up. Poke the holes and glaze with the honey butter once it’s out of the oven and serve.
Notes
8 liked
0 disliked
Crispy
Delicious
Easy
Go-to
Moist
