By mamagourmand.com
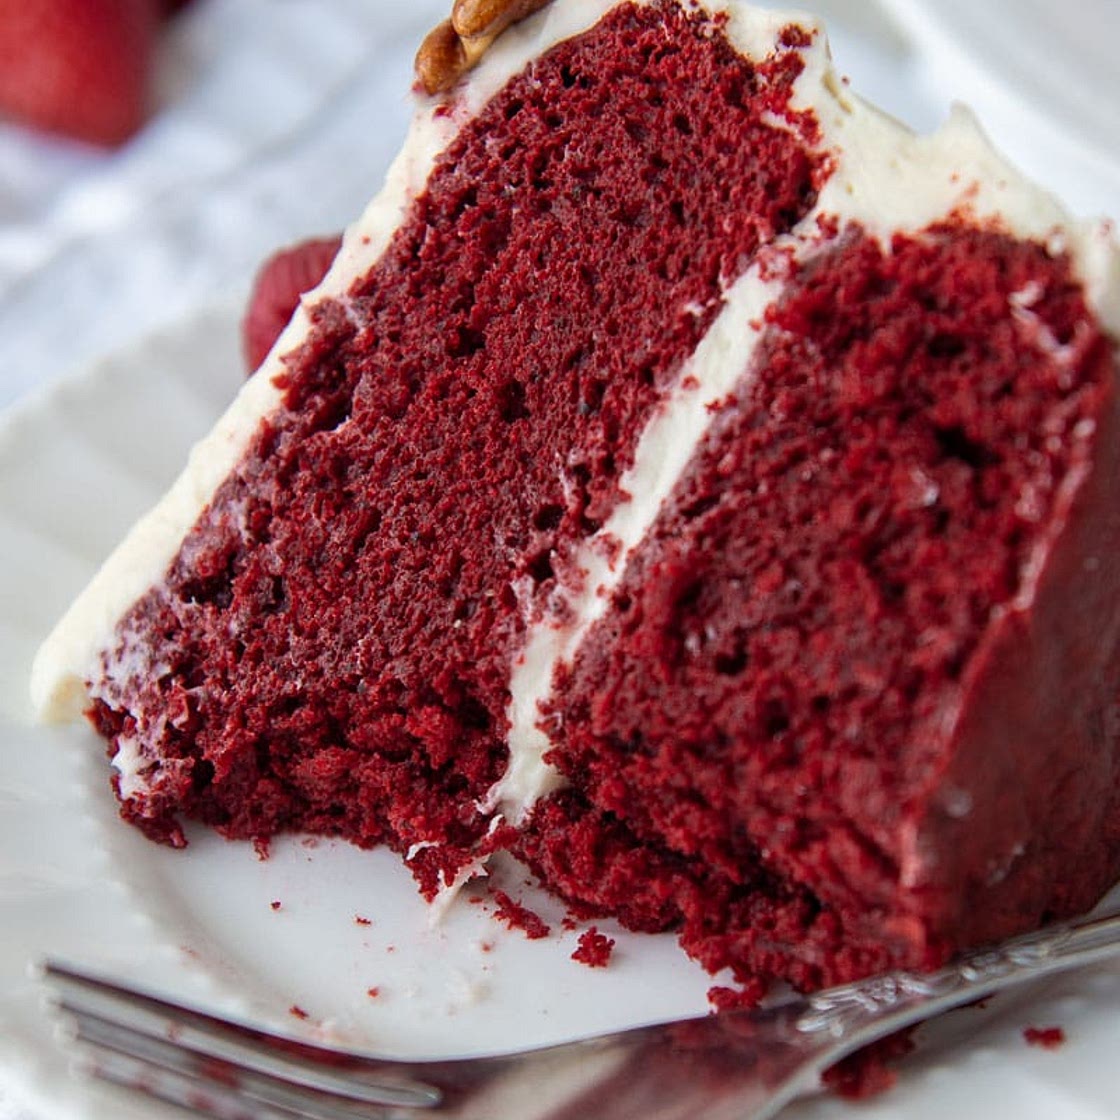
Easy & Moist Gluten Free Red Velvet Cake
9 steps
Prep:5minCook:25min
Bite into a dream-come-true with an ultra moist Gluten-Free Red Velvet Cake recipe that is also ridiculously easy to throw together! Slather on a batch of light and fluffy cream cheese frosting for the literal icing on this to-die-for cake!
Updated at: Fri, 06 Dec 2024 09:37:10 GMT
Nutrition balance score
Unbalanced
Glycemic Index
67
Moderate
Glycemic Load
42
High
Nutrition per serving
Calories575.9 kcal (29%)
Total Fat37.2 g (53%)
Carbs62.5 g (24%)
Sugars40.1 g (45%)
Protein5.9 g (12%)
Sodium341.1 mg (17%)
Fiber2.3 g (8%)
% Daily Values based on a 2,000 calorie diet
Ingredients
14 servings
2 cupsgranulated sugar
4eggs
1 ⅓ cupsour cream
¾ cupvegetable oil
1 tablespoonvanilla extract
2 teaspoonsred gel food coloring
or 2-3 tbsp red food coloring
2 ⅔ cupgluten free all purpose flour
I use and recommend Cup4Cup gluten free flour
½ cupunsweetened cocoa powder
2 teaspoonsbaking powder
¼ teaspoonbaking soda
¾ teaspoonsalt
16 ouncescream cheese
softened
1 cuppowdered sugar
2 tablespoonssour cream
1 teaspoonvanilla extract
1 cupheavy cream
Instructions
Gluten-Free Red Velvet Cake
Step 1
Preheat oven to 325ºF. Prepare two 9-inch cake pans by spraying with cooking spray, lining pans with cut-to-size parchment or wax paper on the bottom, and then spraying the parchment. Set aside.
Step 2
In a large bowl whisk together sugar, eggs, sour cream, vegetable oil, vanilla, and food coloring.
Step 3
Add flour, cocoa powder, baking powder, baking soda, and salt. Vigorously whisk or stir to combine.
Step 4
Divide the cake batter into the prepared cake pans. Bake for 25-30 minutes, or until a cake tester comes out clean. Be careful to not overbake. Remove from the oven and cool in pans for 5 minutes. Turn cakes onto wire rack to cool completely before frosting.
Fluffy Cream Cheese Frosting
Step 5
In a bowl beat together the cream cheese, powdered sugar, sour cream, and vanilla extract. Set aside.
Step 6
Pour heavy cream into a separate clean, large bowl. Beat on high until it holds shape and peaks form with the consistency of whipped cream.
Step 7
Gently fold the whipped cream into the cream cheese mixture until no streaks remain.
Step 8
Assembly: Place 1 cake layer on your cake stand or serving plate. Evenly cover the top with frosting. Top with 2nd layer and spread remaining frosting all over the top and sides. For best taste, serve at room temperature, but refrigerate leftovers.
Step 9
DID YOU MAKE THIS RECIPE?? DON'T FORGET TO LEAVE FEEDBACK AND/OR CLICK A STAR RATING ON THE RECIPE CARD!
View on mamagourmand.com
↑Support creators by visiting their site 😊
