By Ronnie Villarini
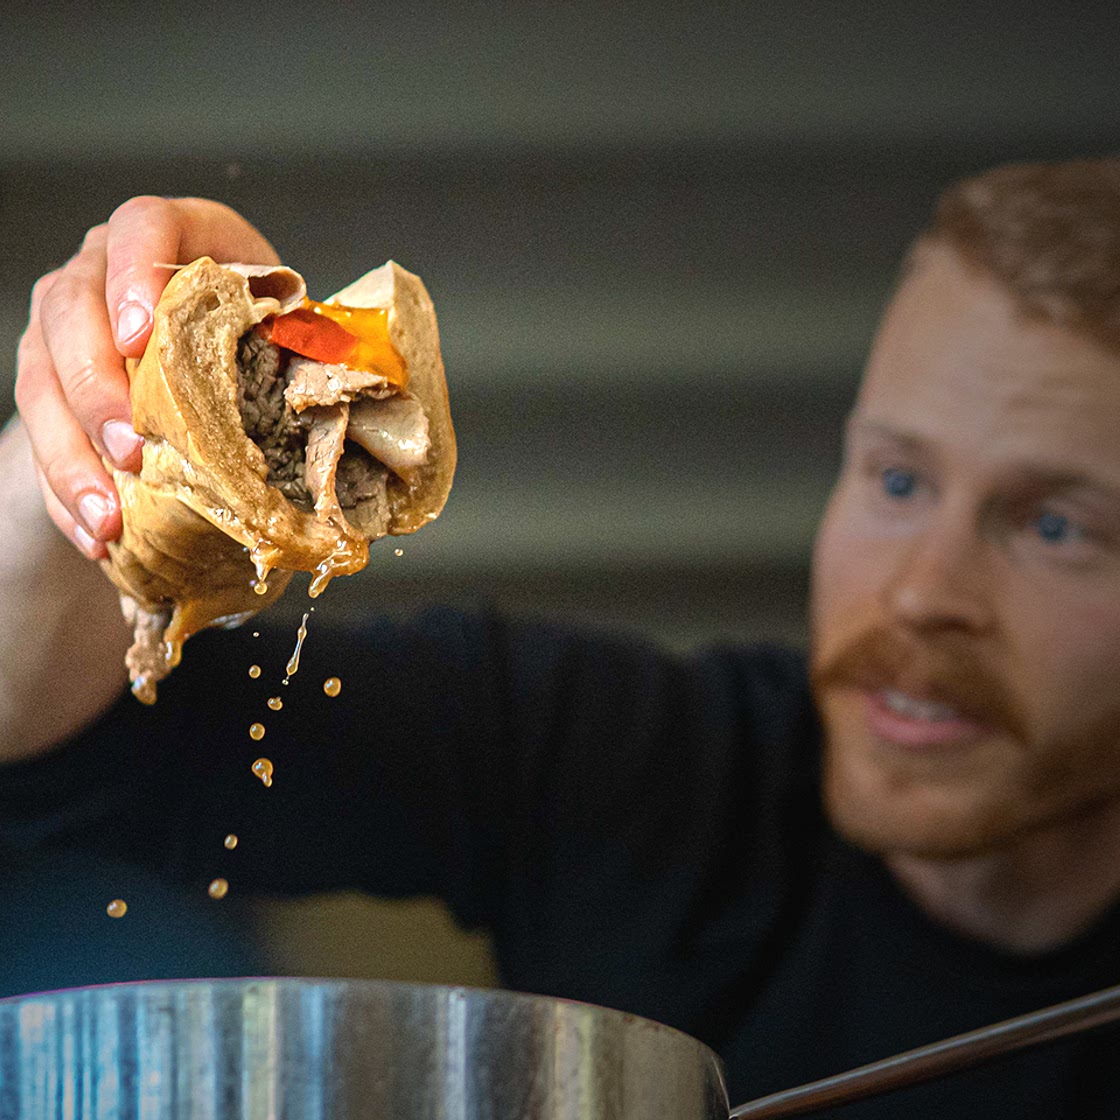
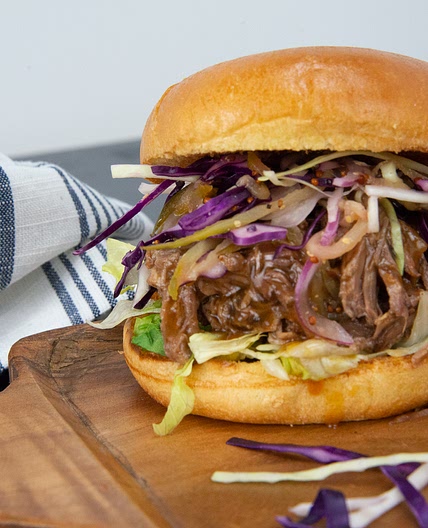
The Chicago Style Italian Beef Sandwich — Ethan
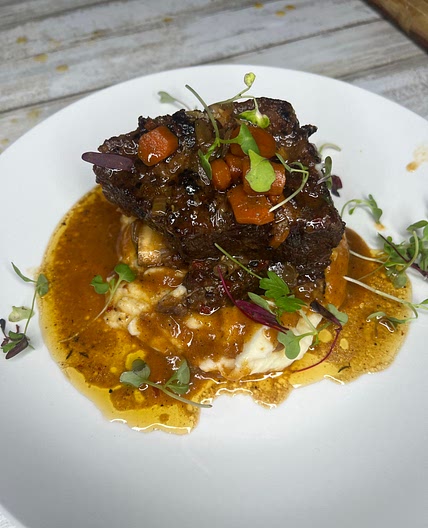
Juicy, beefy, peppery. Chicago knows what they are doing with this sandwich.
Updated at: Tue, 15 Aug 2023 21:20:36 GMT
Nutrition balance score
Good
Nutrition per serving
Calories2423.7 kcal (121%)
Total Fat98 g (140%)
Carbs61.9 g (24%)
Sugars17.1 g (19%)
Protein337.4 g (675%)
Sodium9777.4 mg (489%)
Fiber19.1 g (68%)
% Daily Values based on a 2,000 calorie diet
Ingredients
0 servings
3 lbsEye of Round Roast
coarse kosher salt
fresh ground pepper
8garlic cloves
smashed, skin removed
13gPaprika
3gOregano
2gCoriander seeds
2gFennel seeds
18gCoarse Kosher Salt
7gFresh Ground Pepper
braising liquid
480gBeef stock
Water to cover
Equal
parts, all diced
celery
onion
red pepper
spices
2cloves garlic
2red hot Chiles
5 gramsOregano
5 gramsPeppercorns
Instructions
Step 1
Preheat the oven to 300 degrees F (150 C).
Step 2
Liberally salt and pepper the roast.
Step 3
Add a thin layer of oil to a large dutch oven over high heat.
Step 4
Once browned, remove the roast and set aside on a plate. Set the heat to medium.
Step 5
Add the garlic cloves and spice rub to the fond created from browning. Saute for 1-2 minutes until fragrant.
Step 6
Add the beef stock and water to create our braising liquid. Turn off the heat.
Step 7
Add the browned roast back to the liquid. The liquid should come up to at least 1/2 the way up the beef, if it's not, add more water/beef stock.
Step 8
Prepare a parchment paper lid, or set the lid of the dutch oven slightly ajar.
Step 9
Move the dutch oven to the oven and let braise for 2 - 2.5 hours. Flip the beef roast and let braise for another 1.5 hours.
Step 10
Remove the roast from the oven and wrap in plastic film and move to the fridge to rest at least 1 hour. This will allow the proteins to set for better slicing and the plastic film doesn't allow water vapor to escape, keeping our roast moist. (Note If you are not slicing thinly, you could let the beef rest and eat the beef right out of the oven)
Step 11
Store the braising liquid in the fridge as well.
Step 12
Once rested, thinly slice the roast by using an electronic slicer for best results, though a slicing knife will work too.
Step 13
Heat the au jus over medium low heat until 140 degrees F (60 c).
Step 14
Add a serving of the sliced beef to the au jus and let warm for 30-60 seconds.
Step 15
Place empty crock or jar on a scale and tare or zero the scale.
Step 16
Fit the vegetables snugly into the vessel
Step 17
Add enough water to submerge the vegetables and note the weight down.
Step 18
Calculate 2% of that weight, and weigh out that much salt into a bowl. (MAKE SURE you calculate and weigh exactly for safety, you can go above 2% but do not go below.)
Step 19
Pour the water out from the vessel and mix the salt until it’s dissolves.
Step 20
Pour the saline solution back over the vegetables.
Step 21
Cover with the cap, and lightly screw on the cap, allowing nothing to enter, but loose enough that gas produced from fermentation can still escape.
Step 22
Now it is time to wait. Normally, just leave them at room temperature, though Noma does their ferments at 82 F. You can ferment in the fridge, though it will ferment at a much slower pace.
Step 23
If fermenting at room temperature, you want to start checking on the pickles after 2-3 days and monitor the progress for sourness.
Step 24
Once the pickles have reached the desired sourness. Move to the fridge, screw the cap tight, and it will store in the brine for several months for you to enjoy.
Notes
1 liked
0 disliked
There are no notes yet. Be the first to share your experience!
