By Ken Edwards
Lemon Bars
8 steps
Prep:30minCook:55min
Based on Preppy Kitchen recipe with a few modifications to make it my own.
Updated at: Thu, 17 Aug 2023 03:58:19 GMT
Nutrition balance score
Unbalanced
Glycemic Index
69
Moderate
Glycemic Load
45
High
Nutrition per serving
Calories385.7 kcal (19%)
Total Fat11.5 g (16%)
Carbs65.6 g (25%)
Sugars44.6 g (50%)
Protein6.2 g (12%)
Sodium128.6 mg (6%)
Fiber2 g (7%)
% Daily Values based on a 2,000 calorie diet
Ingredients
16 servings
Shortbread Crust
2 ½ cupsall-purpose flour
⅔ cupspowdered sugar
for the shortbread, plus more for dusting
½ tspsalt
12 Tbspunsalted butter
melted
1 tspvanilla extract
½ tspalmond extract
Filling
Tips
3 Tbsplemon zest
requires three lemons
fresh lemon juice
ALWAYS
baking dish
Line, with parchment paper
Lemon bars
seem not quite done when you pull them from the oven They will continue to set as they cool
Lemon bars
are a great make ahead dessert, Cut then freeze on a baking try Wrap individually and store in your freezer for up to three months Dust with powdered sugar before serving
Equipment
Instructions
Step 1
Heat oven to 350F and line a 9x13 baking dish with parchment paper.
Step 2
Whisk together 2 1/2 cups of flour with the powdered sugar and salt, then pour in the melted butter and mix until combined. You can also do this using a stand mixer with a paddle attachment. If you'd like a dash of vanilla, it can be added in with the butter at this step.
Step 3
Sprinkle the dough into your lined pan and press down into a flat layer. Bake at 350F for about 20 minutes or until a light golden color. BUT prepare the filling first because you want to pour the feeling onto the warm crust.
Step 4
While the crust is baking, add the sugar to a food processor and add the zest of three lemons. Pulse until the zest is fully incorporated and sugar is a light yellow color. If you don't have a processor just mince the zest and mix with the sugar in a bag or bowl.
Step 5
Add the sugar and remaining half cup of flour to a large bowl and mix well. You can sift together however and zesty sugar bits will need to get dumped out of the sifter as they might clog things up and not go through.
Step 6
Pour in the lemon juice and add the eggs then mix very well until completely combined.
Step 7
Pour the filling onto the warm crust then transfer to oven and bake for about 25 minutes, turning halfway through the bake. Remove from oven and allow to cool for an hour before chilling in the refrigerator for two hours.
Step 8
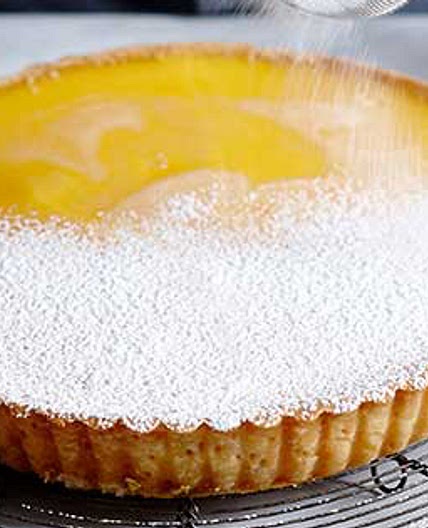
Dust with powdered sugar and cut into bars using a clean, sharp, damp knife. Clean and re-wet the knife after each cut.
View on Preppy Kitchen
↑Support creators by visiting their site 😊
Notes
0 liked
0 disliked
There are no notes yet. Be the first to share your experience!

