By Live By Two
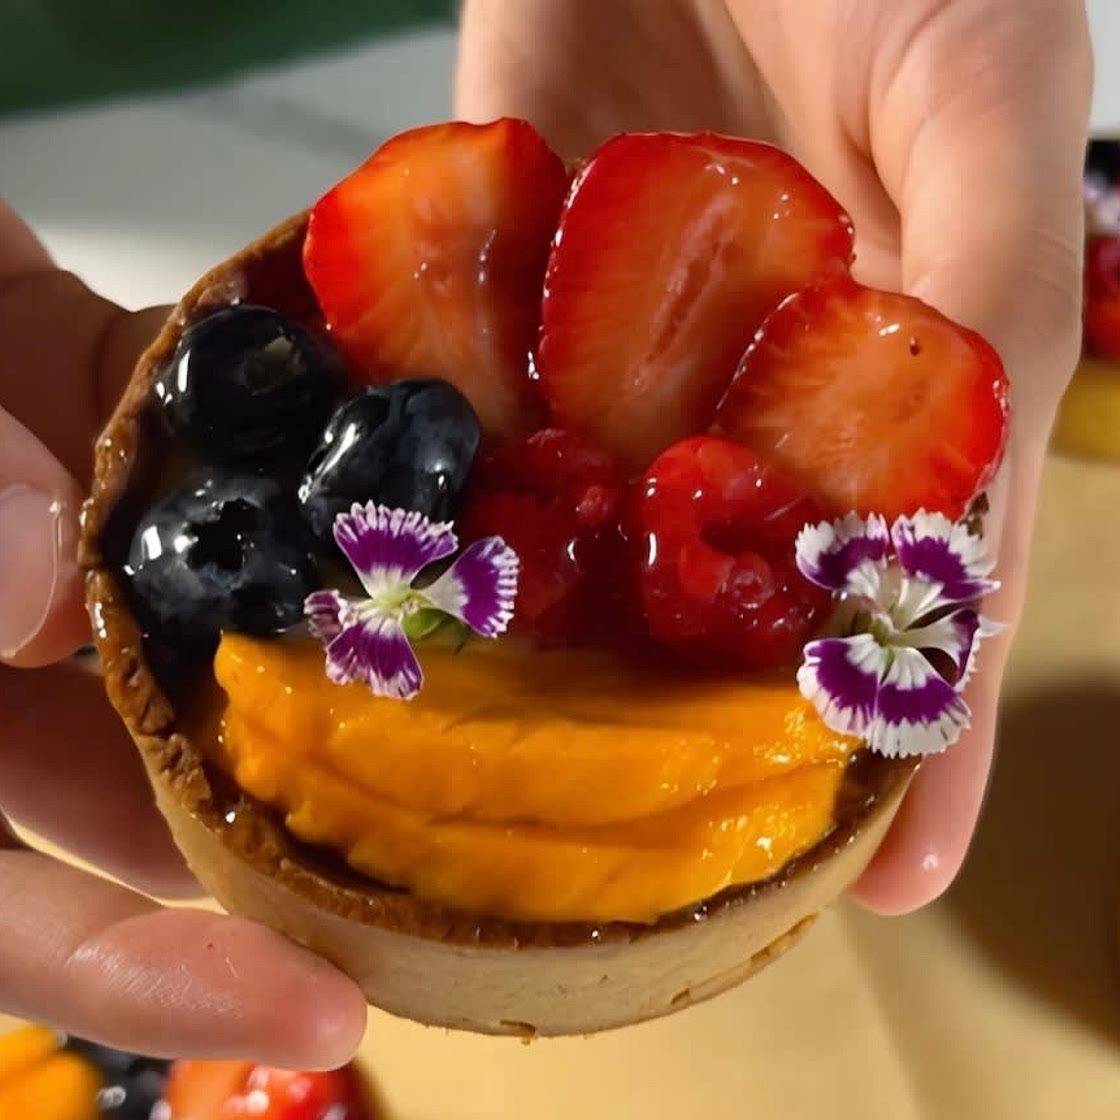
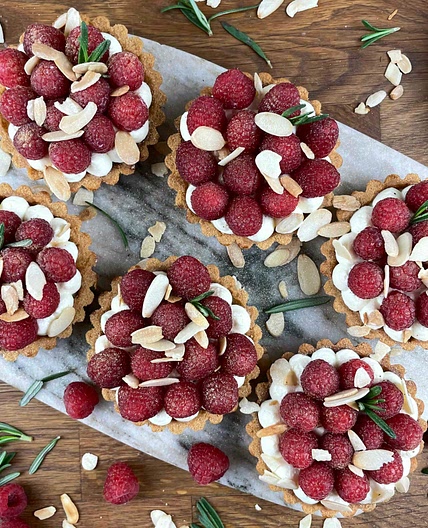
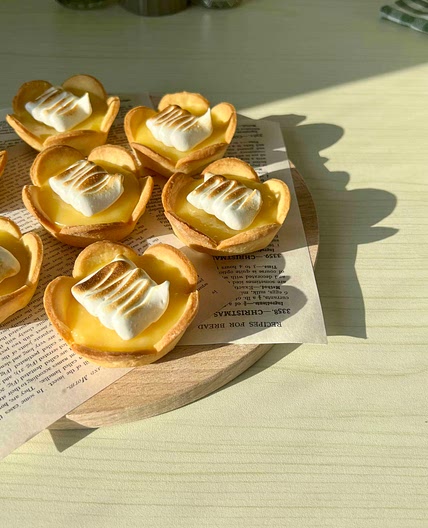
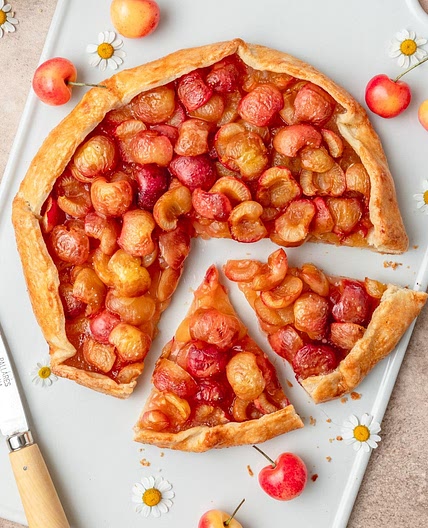
Mini Fruit Tarts 🌸
25 steps
Prep:1hCook:45min
This mini fresh fruit tart has a buttery shortbread crust, filled with lemon curd, berry sauce, vanilla custard and heaps of fresh fruit. They come together so easily, and it tastes even better than it looks. ✨
Updated at: Thu, 17 Aug 2023 09:51:20 GMT
Nutrition balance score
Uh-oh! We're unable to calculate nutrition for this recipe because some ingredients aren't recognized.
Ingredients
8 servings
Tart Base
100gUnsalted Butter
room temp
salt
50gCoconut Sugar
Powdered
20galmond flour
30gCorn Starch
36gEggs
room temp
170gall purpose flour
Lemon Curd
4 tablespoonsvegan butter
2 ½ tablespoonscornstarch
3Juice of lemons
medium size
1 teaspoonlemon zest
4 Tbsppowdered sugar
⅛ tspturmeric
or 2-3 drops yellow food coloring for color
Berry sauce
1 cupfresh berries
2 Tbspcoconut sugar
0.5juice of lemon
0.5juice of orange
2 dropsRed food colour
if it’s not bright enough naturally
Vanilla Custard
265gMilk
50gsugar
3egg yolks
14gCorn Starch
0.5Vanilla bean
pod, or 1 teaspoon vanilla extract
20gunsalted butter
To layer the tart
Instructions
For the tart base
Step 1
Beat the room temp. butter lightly (add in salt).
Step 2
Sift in powdered sugar, almond powder and corn starch. Beat lightly.
Step 3
Add the room temp. eggs gradually and mix.
Step 4
Finally, add in the flour and mix well. Once the dough is ready rest in the fridge for at least 2 hours
Step 5
Roll it out to 2mm/3mm thickness between parchment papers. (2mm thickness for 6~8cm diameter if you are making a mini tart like me, 3mm thickness for 14~18cm diameter if you want a more larger tart. (Any other sizes, you decide) Rest in the fridge again for 1 hour.
Step 6
•Line a parchment paper or a silicone mat on a baking tray and place the tart rings on it. Brush the sides of the tart mould with melted butter or oil. Use the mould as a cutter to cut out discs and place it on the bottom. Cut the strips to cover sides of the tart making sure everything is properly sealed by pressing it lightly.
Step 7
For regular tart pan: Place a sheet of parchment paper and then pie weights on top of the crust before baking. You can use any raw beans, chickpeas, rice.
Step 8
For perforated tart ring: Place it on a perforated mat and bake it directly
Step 9
For regular tart pan: Bake at 170℃ for 10mins, take the pie weights out, then bake for another 5 mins. (160℃ for 2mm)
Step 10
For perforated tart ring: Bake at 170℃ for 15mins. (160℃ for 2mm)
For the lemon curd
Step 11
In a small saucepan over medium heat, melt your butter.
Step 12
Once melted, remove it from the heat and mix it with the cornstarchuntil a paste is formed.
Step 13
Return the pan to medium heat and add in the sugar, lemon juice, lemon zest, and turmeric/food coloring if using. Stir until the sugar dissolves and the lemon curd thickens. This should take about 3-5 minutes to fully thicken.
Step 14
Remove the lemon curd from the heat and let cool.
For the Custard
Step 15
Add milk and vanilla beans into a saucepan and heat it up and let the vanilla infuse - this is essentially "vanilla milk".
Step 16
Meanwhile in a bowl, whisk together the egg yolk, sugar and cornstarch until smooth.
Step 17
When the vanilla milk cools down to around 60° C pour it gently into the bowl with egg yolk, sugar and cornstarch while mixing.
Step 18
Return the mixture into the saucepan (sieve) and bring to a boil while stirring constantly (yes, stir constantly!)
Step 19
When the mixture just starts to thicken, stir for another minute until the mixture loosens up and starts shining.
Step 20
Add the butter and blend it using a blender and the mixture will become super smooth!
Step 21
Pour it in a container or a metal tray and place cling film directly on the surface to prevent from skin forming.
Step 22
Immediately refrigerate and chill before using.
For the Berry Sauce
Step 23
Pulse the berries in a food processor until smooth.
Step 24
In a saucepan add the berry mixture, sugar, orange juice and cook on low flame for 5-7 minutes.
Step 25
Add the lemon juice and cook for another few minutes till it reaches the desired consistency. Let it cool before using
Notes
0 liked
0 disliked
There are no notes yet. Be the first to share your experience!
