By The Toasted Pine Nut
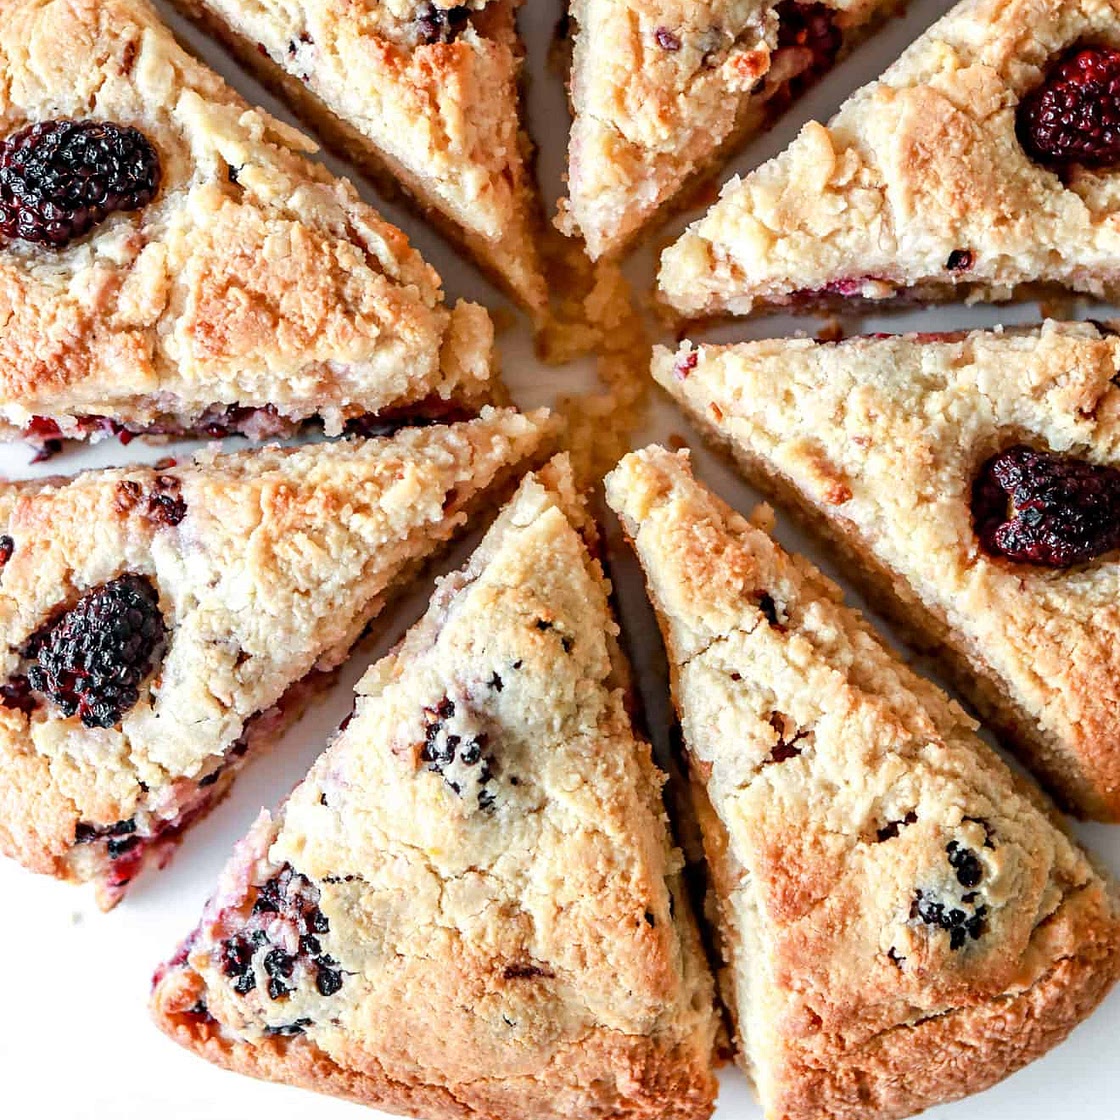
Blackberry Lemon Scones
13 steps
Prep:10minCook:25min
You'll love these gluten free and paleo-friendly blackberry and lemon scones. They're made with almond flour and are naturally sweetened!
Updated at: Mon, 23 Dec 2024 22:14:01 GMT
Nutrition balance score
Unbalanced
Glycemic Index
21
Low
Glycemic Load
4
Low
Nutrition per serving
Calories427.1 kcal (21%)
Total Fat34.3 g (49%)
Carbs21.8 g (8%)
Sugars8.8 g (10%)
Protein10.8 g (22%)
Sodium147 mg (7%)
Fiber4.1 g (15%)
% Daily Values based on a 2,000 calorie diet
Ingredients
8 servings
½ cupbutter
melted, ghee works too
½ cupwhole milk
heavy cream or almond milk also work
2eggs
3 tablespoonsagave nectar
honey or maple syrup works
1lemon
zest and juice
1 teaspoonvanilla extract
3 cupsblanched almond flour
½ cuparrowroot flour
½ cupunsweetened shredded coconut
toasted
½ teaspoonsea salt
½ teaspoonbaking powder
1 cupblackberries
cut in half
Instructions
Step 1
Preheat oven to 350F.
Step 2
In a medium bowl, whisk together the melted butter, milk, eggs, agave, and vanilla.
Step 3
Zest the peel of the lemon directly into the batter, only removing the yellow skin. Then, cut the lemon in half and juice it. Strain the juice and whisk it into the batter.
Step 4
Add the almond flour, arrowroot flour, coconut shreds, sea salt, and baking power. I like to toast my coconut shreds beforehand in a skillet over medium high heat for a few minutes until they get fragrant and golden brown.
Step 5
Whisk everything together.
Step 6
Fold in most of the blackberries, reserving some to press into the tops. I found the blackberries were best if they were cut in half, but I had some giant blackberries.
Step 7
Put some arrowroot flour on a counter or surface and place the batter on top.
Step 8
Liberally sprinkle the scone batter with arrowroot starch and form a ball.
Step 9
Place the ball on a baking sheet lined with parchment paper.
Step 10
Use a wet knife to cut the mound into 8 triangles.
Step 11
Bake for 25 minutes until golden brown. Let the scones sit on the pan for about 5 minutes.
Step 12
Cut the scones again into 8 triangles, following along the lines you made before baking.
Step 13
Transfer to a cooling rack and enjoy!
View on The Toasted Pine Nut
↑Support creators by visiting their site 😊
Notes
0 liked
0 disliked
There are no notes yet. Be the first to share your experience!
