By Rachel Von Fleck
Sourdough Bread
10 steps
Prep:22hCook:40min
Updated at: Sun, 17 Mar 2024 22:13:44 GMT
Nutrition balance score
Good
Glycemic Index
72
High
Glycemic Load
300
High
Nutrition per serving
Calories2104.5 kcal (105%)
Total Fat10.1 g (14%)
Carbs414.6 g (159%)
Sugars2.5 g (3%)
Protein71.9 g (144%)
Sodium3885.8 mg (194%)
Fiber26 g (93%)
% Daily Values based on a 2,000 calorie diet
Instructions
Dough
Step 1
Weigh all ingredients. Mix starter with warm filtered water, add flour and mix by hand until somewhat mixed. Add salt and mix further, scraping the sides of the bowl down, until all ingredients are well incorporated and a somewhat sticky dough is formed. *At this point I like to pull out 40g and add to a 2oz. plastic container (search sourdough aliquot 2oz method).* Cover with a damp flour sack towel and place in a warm area to rest.
Step 2
After 30-40 minutes, do a set of "stretch and folds". Do this every 30-40 minutes for a total of 3 to 4 sets of stretch and folds over about 2.5 to 3 hours. (Slightly wet hands to keep dough from sticking.)
Step 3
Once you finish the last set of stretch and folds, the dough should look smoother, appear stronger, and have a shinier appearance. Cover with the damp towel (re-wet if needed), and move to a warm location for the bulk rise. This can take anywhere from a couple of hours up to eight. You want your dough to increase in size by 50% to 75%. You can test it by dipping your finger into flour so it doesn't stick, and pressing it into the dough. If it springs back slowly and nearly all the way, it's ready. If it doesn't spring back at all, it's possibly overproofed. If it springs back too quickly, it's underproofed.
Step 4
Once the dough has risen the proper amount, it is time for preshaping. Turn it out onto a very lightly floured counter top or smooth cutting board. Lightly stretch it out from underneath into a rectangular shape (careful to not disturb any bubbles too much), and fold in from one side and then the other over the top (essentially into thirds). Stretch it out the other direction and fold into thirds again. Flip the dough over carefully and pull it toward you while pressing the sides under to create a circular shape with some tension. Move in a circle, tucking the edges under each time to create the shape. Let rest on the board or counter for 15 minutes.
Step 5
Now it's time to do the final shaping. Form the tight circle by pulling toward you and curving the edges under. Once done, you'll want to place the dough smooth side down into a bowl lined with a flour sack towel (dusted heavily with rice flour so it doesn't stick). Pinch the dough that is face up to keep it from unraveling/loosening up if needed. Coat with more rice flour and cover with plastic wrap or a shower cap (making sure the dough has room to rise). Place this into the fridge to ferment anywhere from 12 to 48 hours.
Baking
Step 6
Preheat oven to 500 with Dutch oven inside for one hour; place a cookie sheet on the rack below to protect the bottom of the Dutch oven.
Step 7
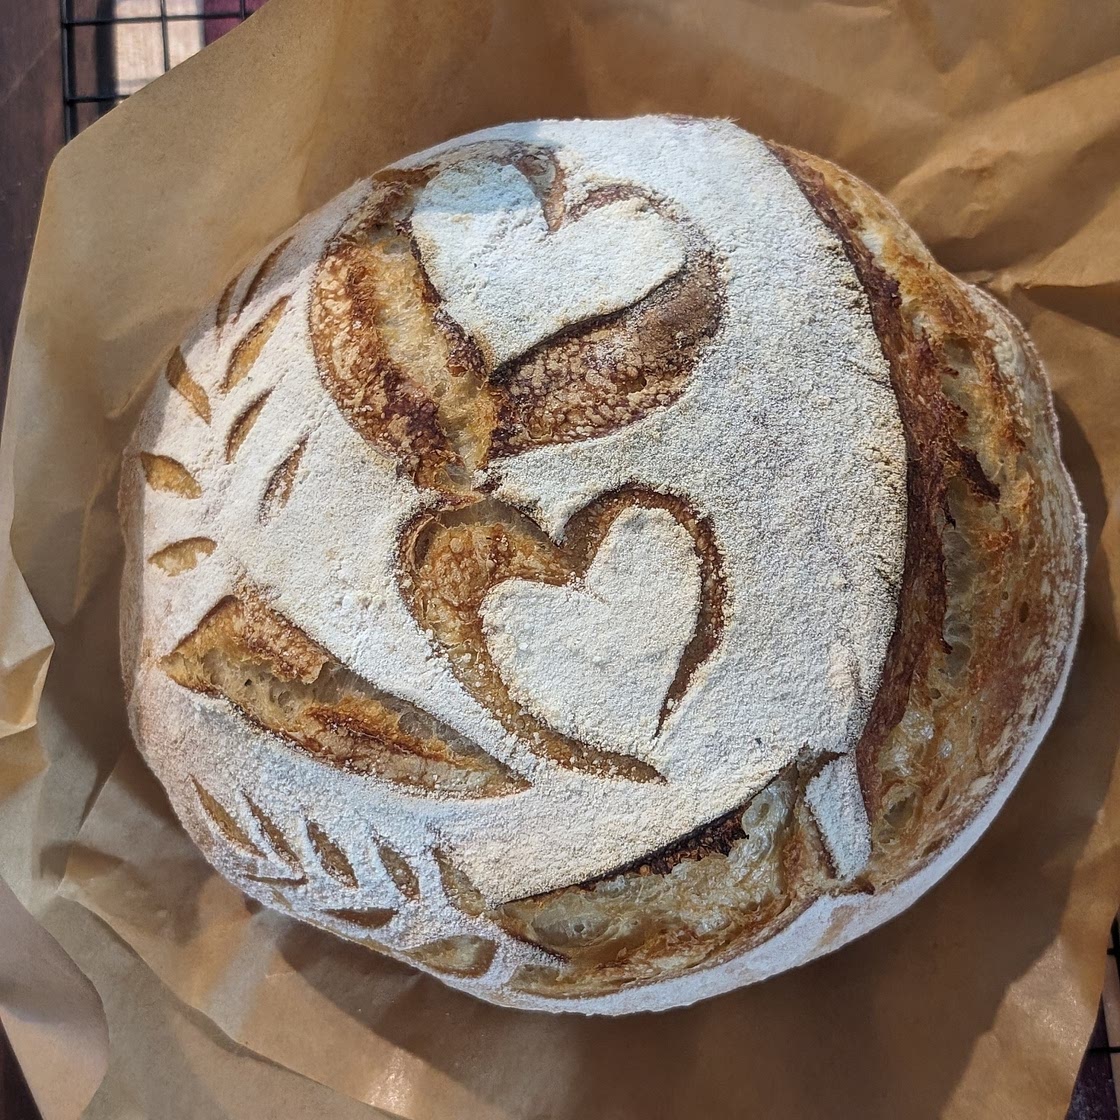
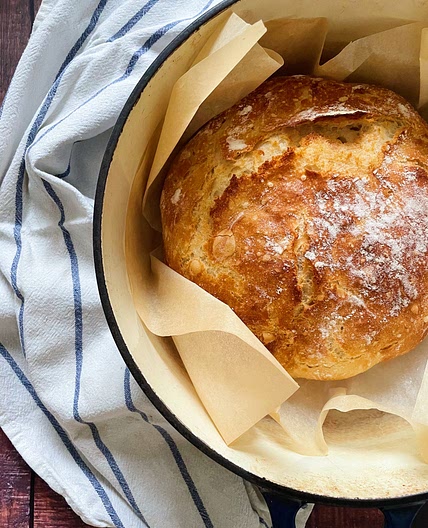
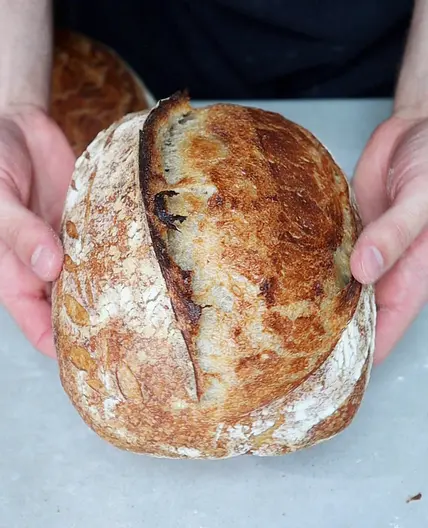
After an hour, take your proofed loaf from the fridge, dust with white rice flour, and score it. Place your loaf on a silicone bread sling (or parchment paper) and into the Dutch oven with lid on.
Step 8
After 6 minutes, rescore under the "ear"/largest scoring cut. Place back into the oven and bake for another 16 minutes with lid on.
Step 9
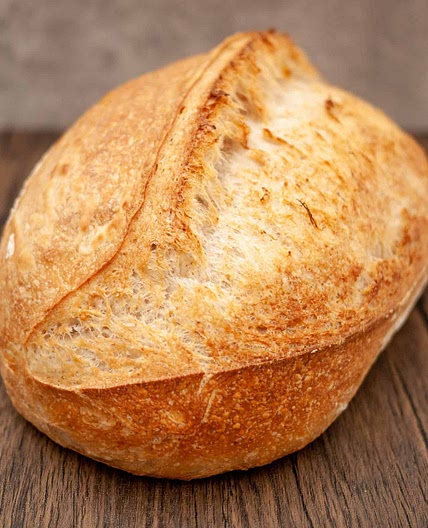
After the total of 22 minutes it has been baking, remove the lid, adjust temp down to 450 for 15-20 minutes until golden brown.
Step 10
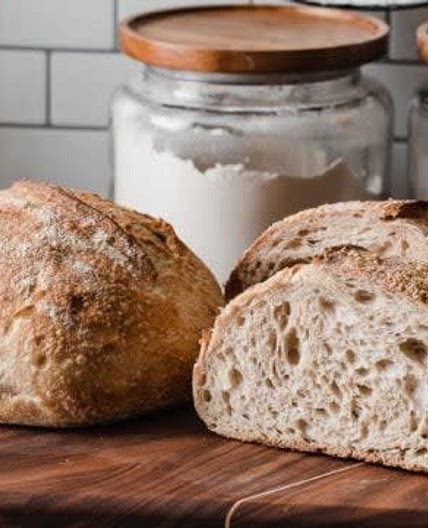
Place on a rack to cool for 2 hours before cutting into it.
Notes
1 liked
0 disliked
There are no notes yet. Be the first to share your experience!
