By serena
Super Easy No-knead Sourdough Bread
Super Easy No-knead Sourdough Bread: If you enjoy this instructable, please consider voting for me in the Bread Contest. Thanks!
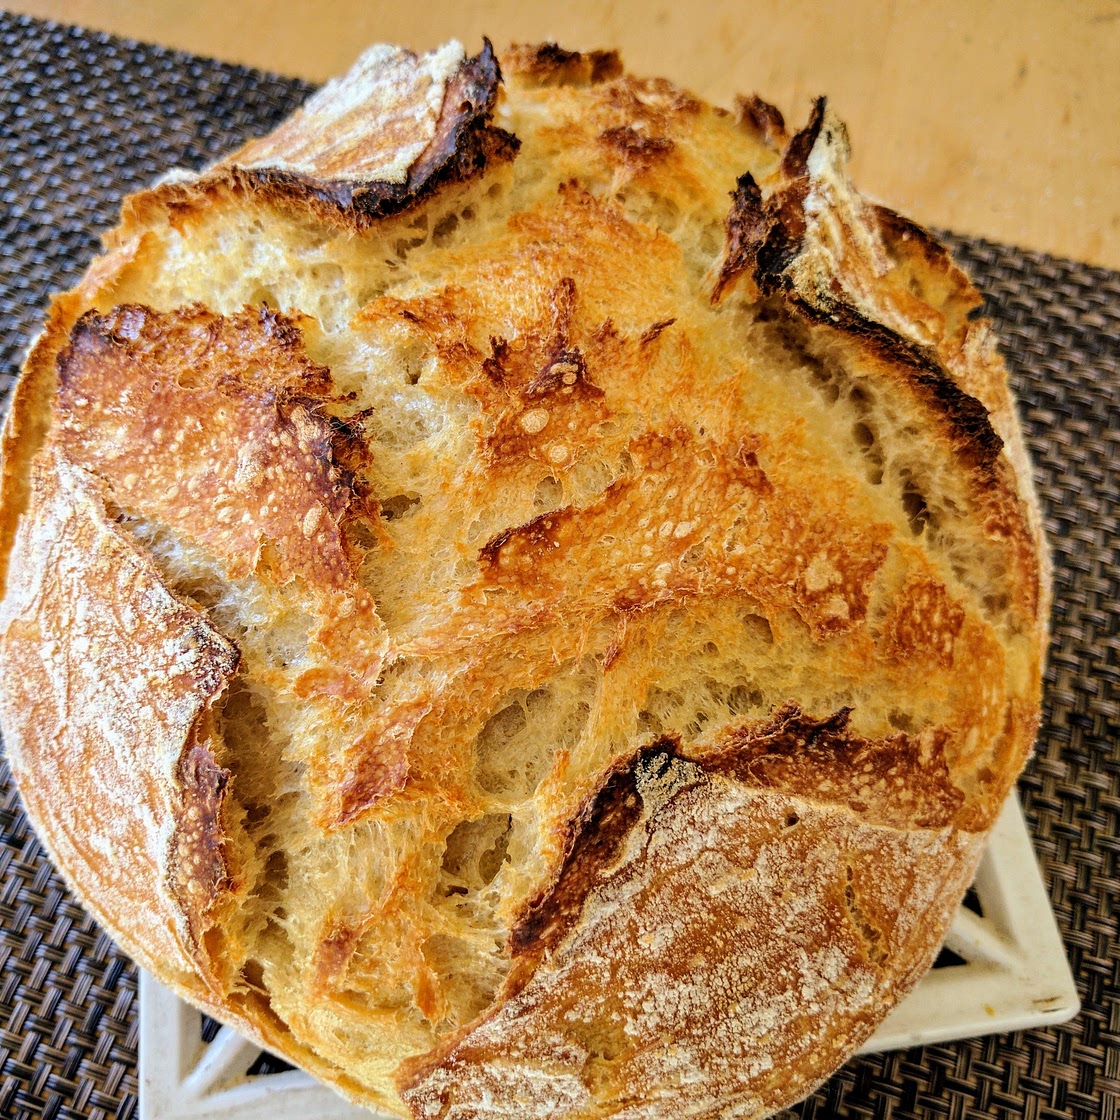
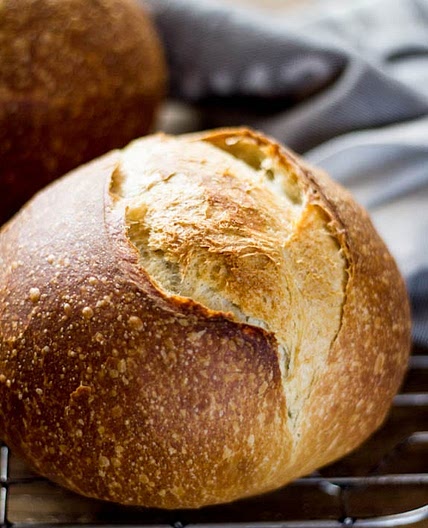
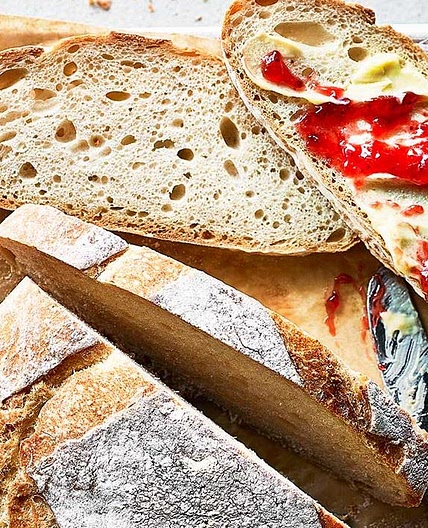
This is my standard sourdough recipe that I bake almost every week. It is a no-knead recipe, so the taste to effort ratio is very high. Although the process …
Updated at: Fri, 13 Dec 2024 10:30:49 GMT
Nutrition balance score
Good
Glycemic Index
74
High
Glycemic Load
128
High
Nutrition per serving
Calories872.5 kcal (44%)
Total Fat4.1 g (6%)
Carbs173.9 g (67%)
Sugars0.9 g (1%)
Protein29.3 g (59%)
Sodium1167.3 mg (58%)
Fiber8 g (28%)
% Daily Values based on a 2,000 calorie diet
Instructions
Step 1
Step 1 Step 1 Mix the
Step 2
I use equal parts water and flour when feeding my starter, which is stored in a mason jar with a piece of foil as a lid. To feed the starter I will dump out most of the jar, reserving about a tablespoon's worth. I then add 1/3 cup filtered water and 1/3 cup flour and stir with a spoon. It can then go into the fridge happily for a week. If I am baking, I will leave my starter at room temperature and feed it about twice a day. When pulling the starter out of cold storage, I like to feed it two or 3 times at room temperature to get the yeast really active before baking.
Step 3
Mixing the dough(active time 10 minutes)
Step 4
Dump the flour and salt in a large bowl or plastic container and mix together
Step 5
Fill a cup with 300g of room temperature filtered water
Step 6
Add 1/4 cup of starter. A healthy starter will float on the surface of the water. Stir in the starter with a spoon and and then dump the lot over the flour.
Step 7
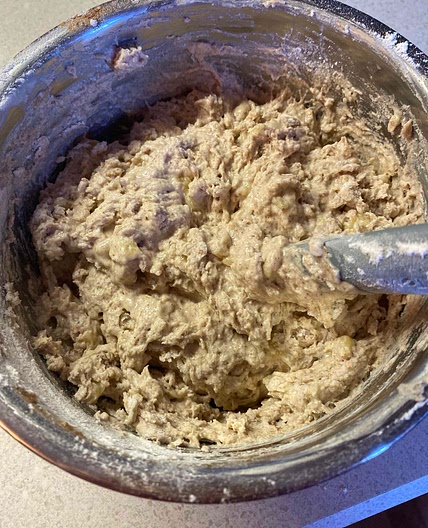
Mix using a bread whisk or by hand until all are incorporated to an even consistency.
Step 8
Cover and let ferment for about 12 hours.
Step 9
Step 2 Step 2 Forming the Loaf
Step 10
After about 12 hours, the dough should have at least doubled in size and if you are using a clear container, you should lots of co2 bubbles. Now we can form the final loaf. But first...
Step 11
Dump the dough onto a floured surface. I like to use a bread scraper to get it out of the container
Step 12
Gently push the dough into a flat rectangle
Step 13
Fold the dough lengthwise in thirds like an envelope(see picture)
Step 14
Fold the dough once vertically
Step 15
Put dough seam-side down. with one hand working the dough ball and one hand working bowl scaper at an angle, form into a tight loaf by pushing the scraper and dough ball together, rotating dough after each push. This will create a tight outer skin.
Step 16
Lift dough ball into floured banneton. I like to use rice flour, as it seems to be the most non-stick (protip you can make rice flour by throwing some rice into a blender)
Step 17
Cover banneton and set aside for final proofing, about 2-3 hours
Step 18
After about 2 or 3 hours the dough should have risen a bit and be rather puffy. If you poke a finger into the dough at this point it will leave an indentation rather than springing back.
Step 19
Baking the loaf(active time 5 minutes)
Step 20
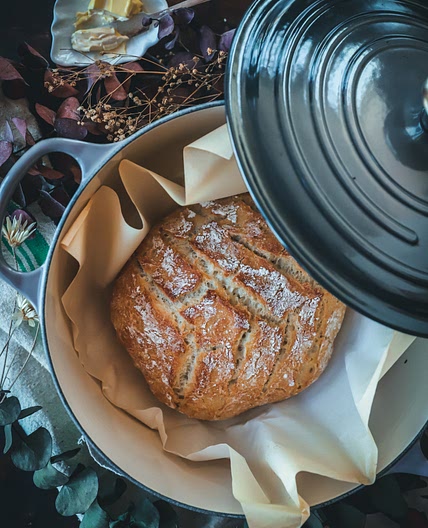
The oven and cooking vessel should be preheated to 500 degrees. You can use a le creuset, dutch oven, or a clay cloche. Mainly, you need something with a lid and a bit of thermal mass to hold heat. The dutch oven will essentially act like a steamer, keeping the moisture from the dough from escaping and creating a wonderful crust.
Step 21
The dough can be dumped directly into the dutch oven, but this is a tricky maneuver and a better way is to flip the dough over onto a piece of parchment paper and then gently lift the paper and lower into the dutch oven.
Step 22
I like to score an X into the top of the loaf which allows for controlled expansion or "oven spring".
Step 23
Place the lid back on and put your loaf into the oven. Reduce heat to 450 and back for 25 minutes with lid on.
Step 24
After 25 minutes, remove lid and continue to bake for another 25 minutes or so until the internal temp is around 208F. If you knock on the bottom of the loaf, it should sound hollow(don't do this when hot obviously)
Step 25
Set out to cool for at least one hour before eating(the hardest part)
Step 26
Step 4 Step 4 Final Thoughts
