By WicApproved
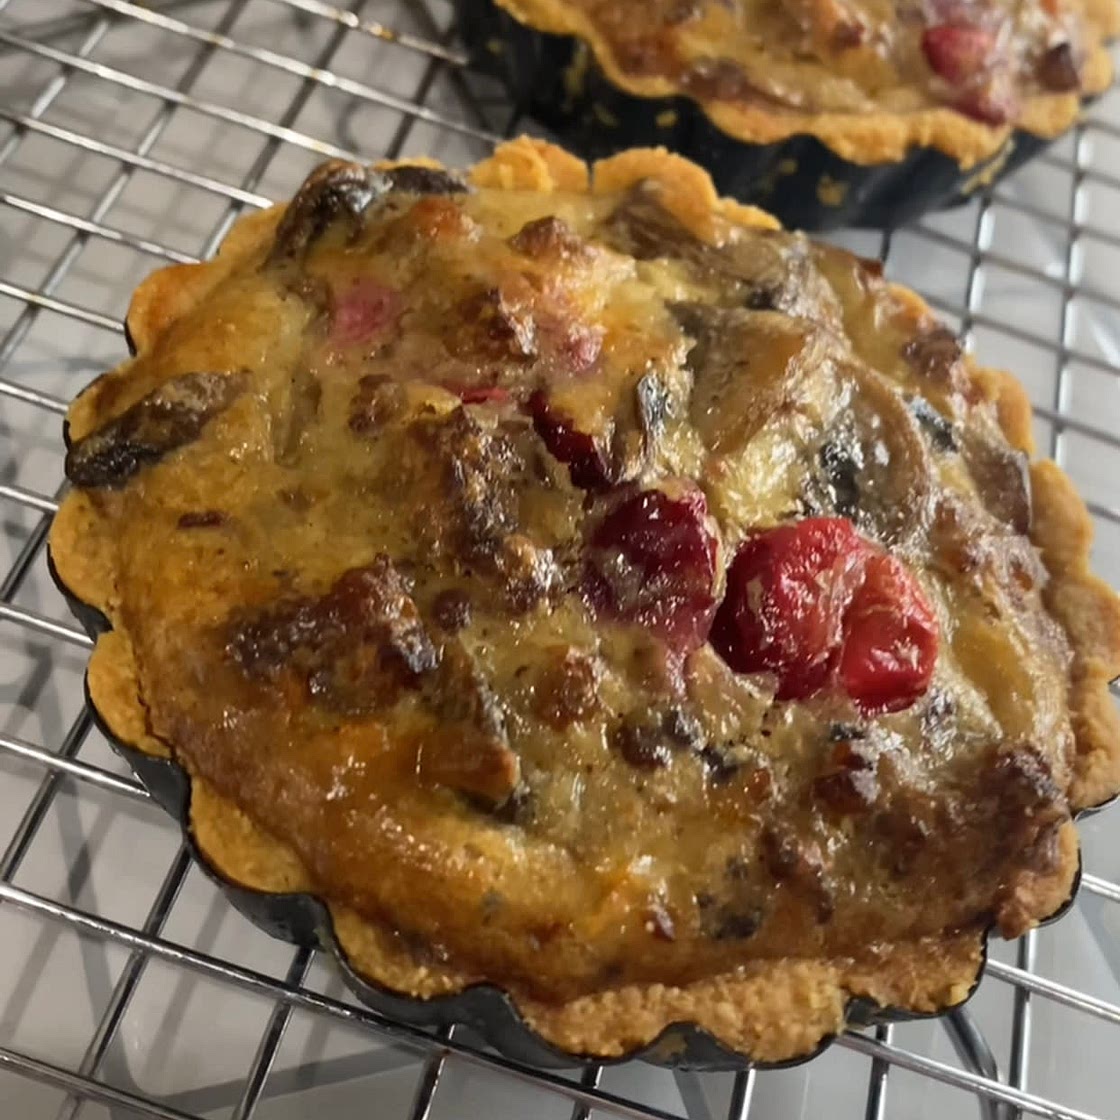
WIC Approved Mushroom Cranberry Tarts
17 steps
Prep:30minCook:25min
Cost of non-WIC items: $11.04
Updated at: Thu, 17 Aug 2023 11:34:46 GMT
Nutrition balance score
Unbalanced
Glycemic Index
65
Moderate
Glycemic Load
21
High
Nutrition per serving
Calories606.4 kcal (30%)
Total Fat44.7 g (64%)
Carbs32.1 g (12%)
Sugars2 g (2%)
Protein20.6 g (41%)
Sodium1089.6 mg (54%)
Fiber1.2 g (4%)
% Daily Values based on a 2,000 calorie diet
Ingredients
6 servings
Crust
Filling
Instructions
Step 1
Mix together flour, salt and sugar in medium sized bowl.
Step 2
Create a well and add in butter. Pull the flour mixture from the sides into the butter. Mix well.
Step 3
Spray your pan(s) with non-stick spray. This will make one 9in tart or 6 small tarts.
Step 4
Preheat oven to 350.
Step 5
Crumble the dough into the edges of the pan first and press in. Fill in the bottom and be sure to press them all together so they’re connected well.
Step 6
Using a fork, score the bottoms of the tart(s) a few times.
Step 7
Place the tart(s) on a cookie sheet and bake for 10 minutes.
Step 8
When the timer goes off, press down any air bubbles that may be forming in your crust with a small measuring cup.
Step 9
Bake for 5 more minutes or until golden brown. Let cool in the pan while you work on filling.
Step 10
Cook sausage in a medium sauté pan until fully brown. Place the sausage in a medium bowl but do not remove the grease from the pan.
Step 11
Add cranberries to the greased pan and cook for 1 minute.
Step 12
Add the mushrooms, stir and cook for 2 minutes or until tender.
Step 13
Add eggs, cheese, and milk/cream to the sausage bowl. Mix.
Step 14
Drain the mushrooms and cranberries of any remaining grease. Add them to the bowl. Mix.
Step 15
Preheat oven to 375.
Step 16
Spoon in the filling into your shell(s). Note if you are using the small tarts: you will be mounding the filling and using it all.
Step 17
Bake for 20-25 minutes or until an inserted knife comes out clean. Let cool slightly before removing from pans.
Notes
1 liked
0 disliked
Delicious
Easy
There are no notes yet. Be the first to share your experience!
